(Many of the links in this article redirect to a specific reviewed product. Your purchase of these products through affiliate links helps to generate commission for HomePressureCooking.com, at no extra cost. Learn more)
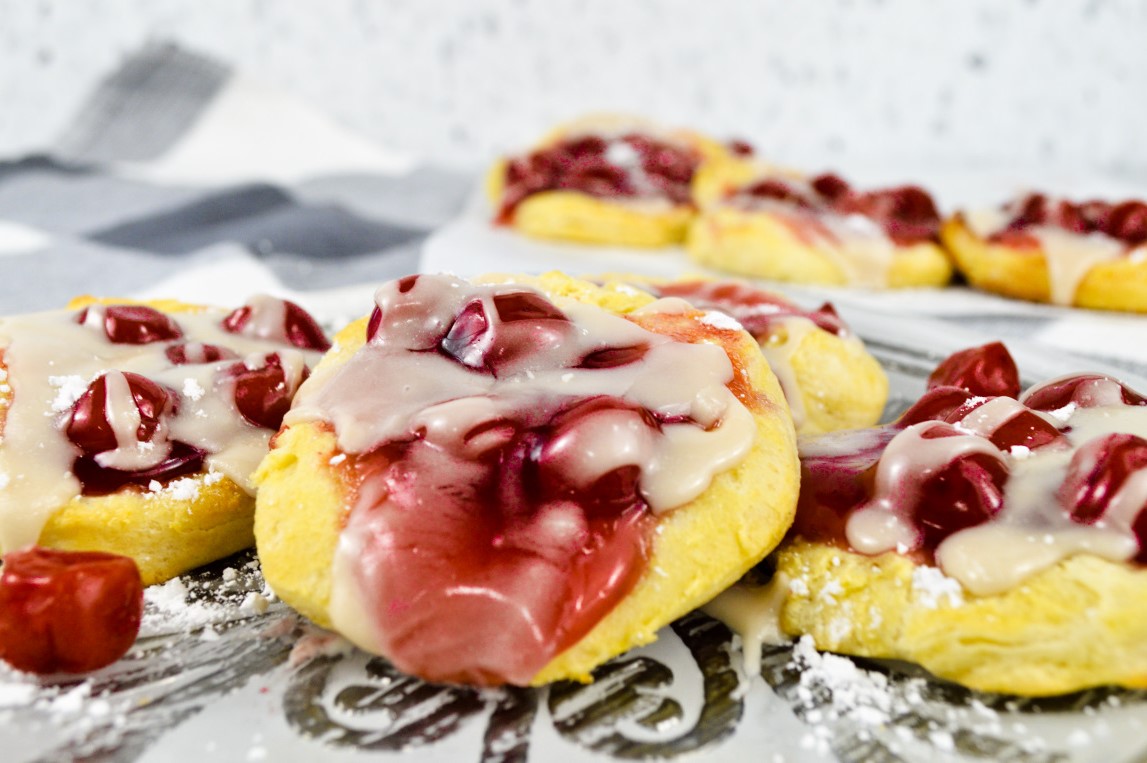
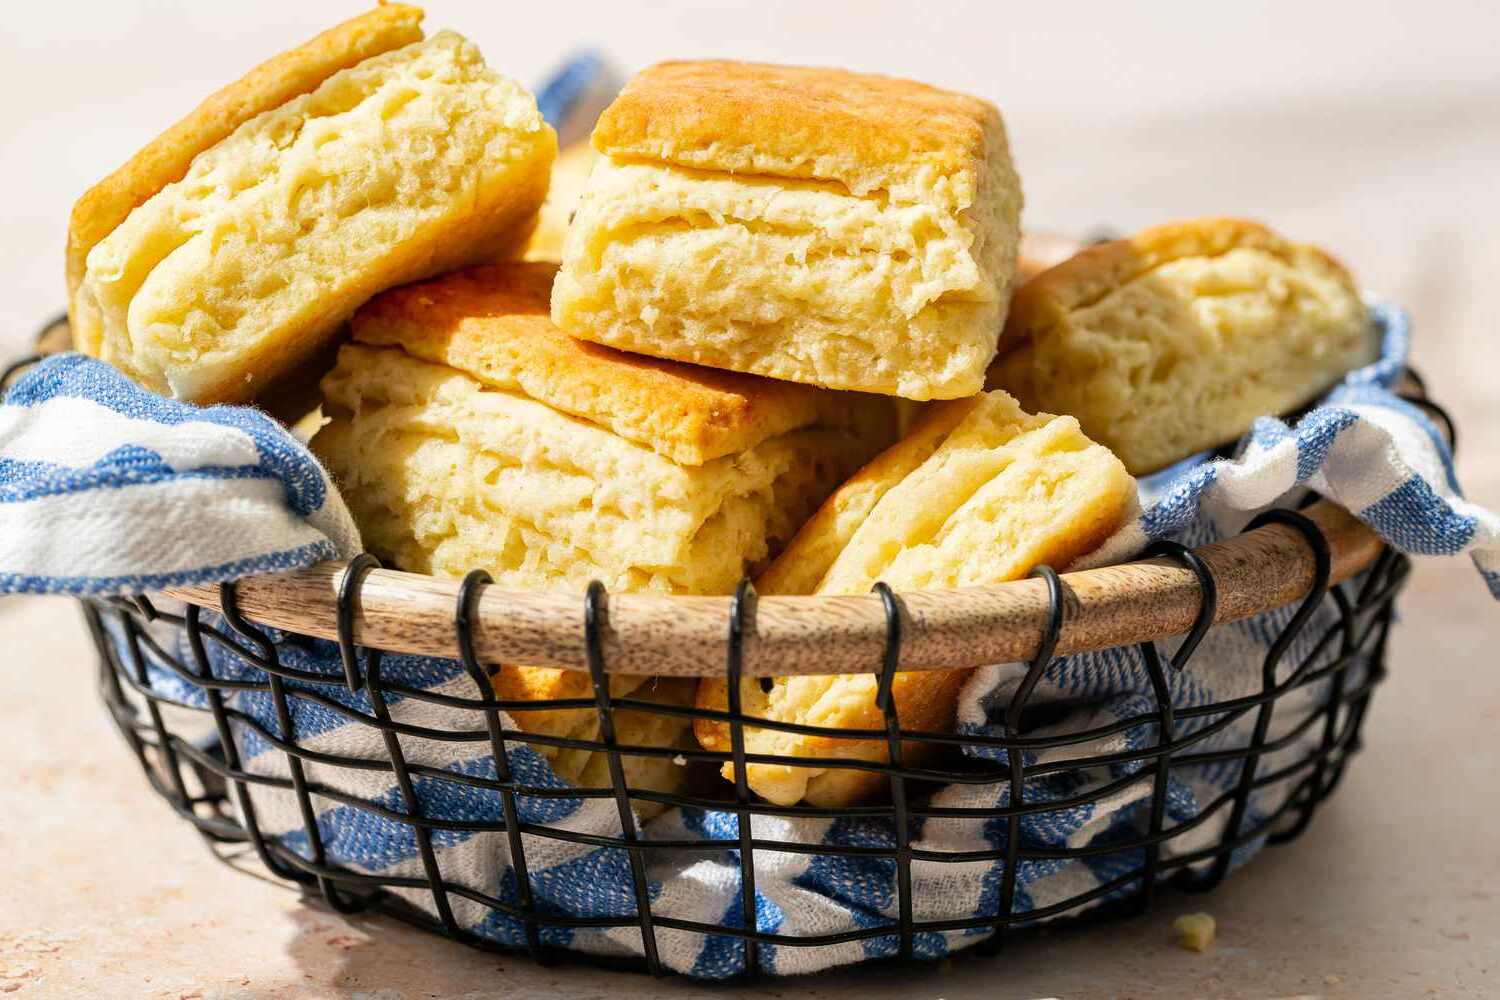
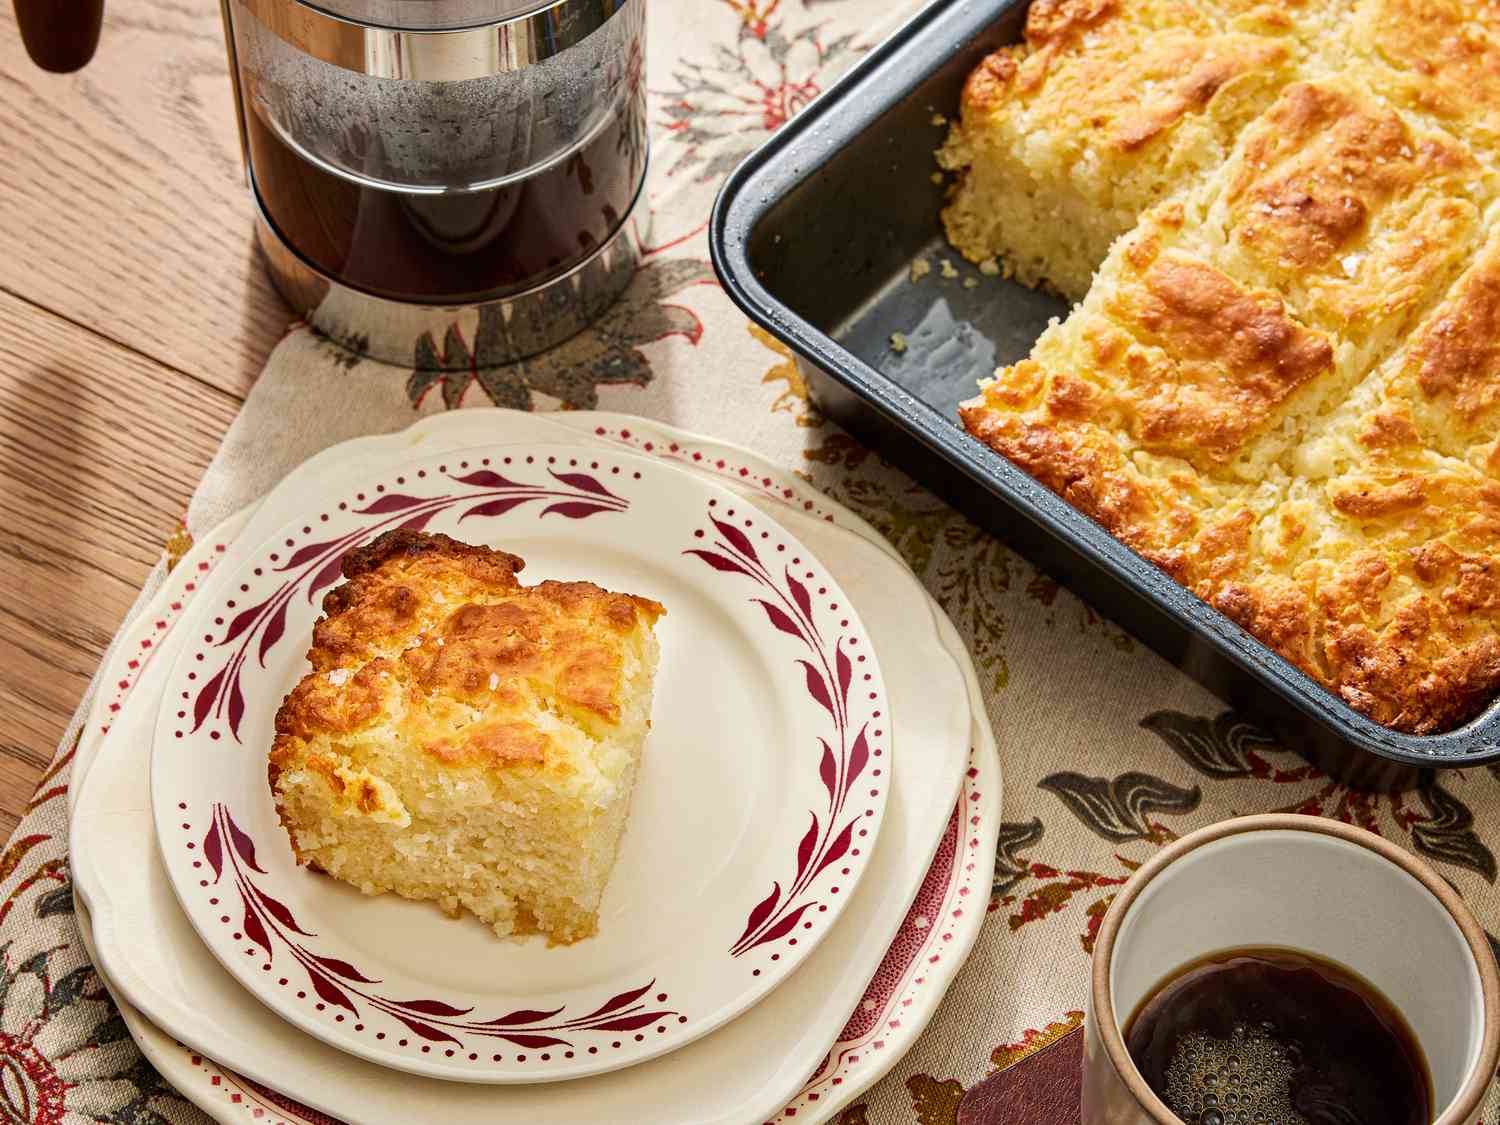
I stumbled upon this cherry biscuit tart recipe during a cozy weekend at my grandma's. Memories of her bustling kitchen flooded back as I whipped up this delightful treat. Trust me, you'll love how effortlessly biscuit dough transforms into a buttery base, perfectly complementing sweet-tart cherries. Bonus? Your Ninja Foodi does most of the work! Get ready for a dessert that'll have everyone asking for seconds. Let's dive into this irresistible, fuss-free creation that'll become your new go-to for impromptu gatherings or lazy Sunday afternoons.
Ingredients for a Delightful Cherry Biscuit Tart
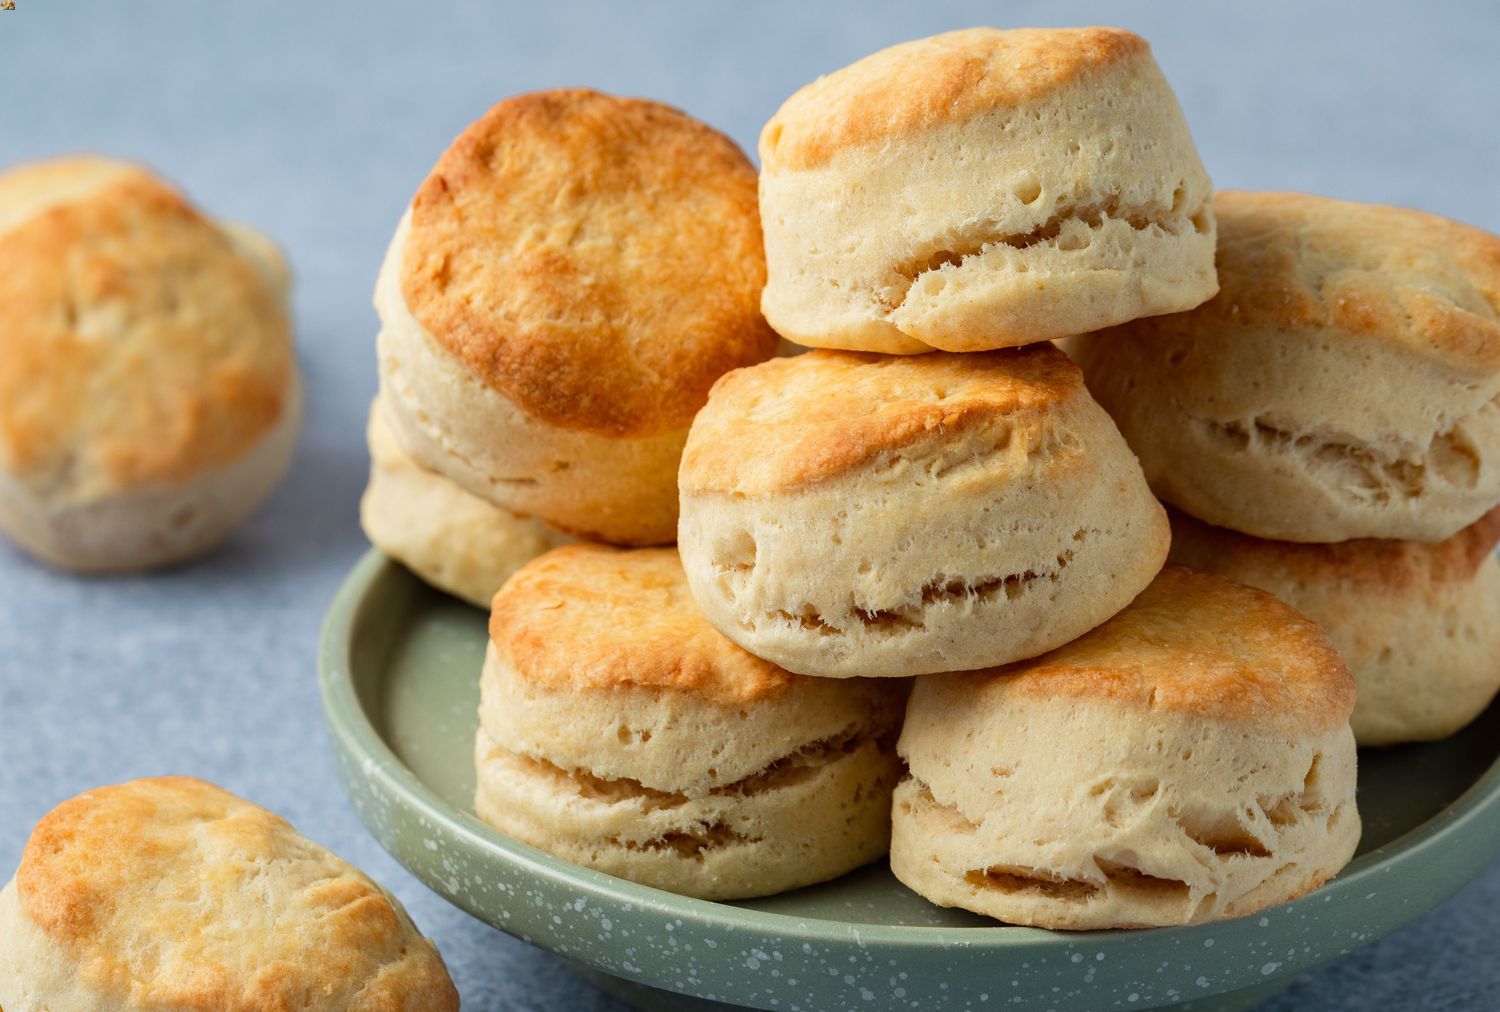
- All-purpose flour: Provides structure and texture to the biscuit base, ensuring a light and fluffy consistency when baked.
- Sugar: Adds sweetness to the biscuit dough and balances the tartness of the cherry filling for a delicious contrast.
- Baking powder: Helps the biscuit dough rise and become airy, creating a soft and tender texture in the final tart.
- Butter: Incorporates richness and flavor into the biscuit dough, enhancing the overall taste of the cherry biscuit tart.
- Milk: Moistens the biscuit dough and helps bind the ingredients together, resulting in a tender and flavorful crust.
- Cherry pie filling: The star of the tart, provides a burst of fruity flavor and juiciness, complementing the buttery biscuit base perfectly.
Essential Tools for Making This Scrumptious Tart
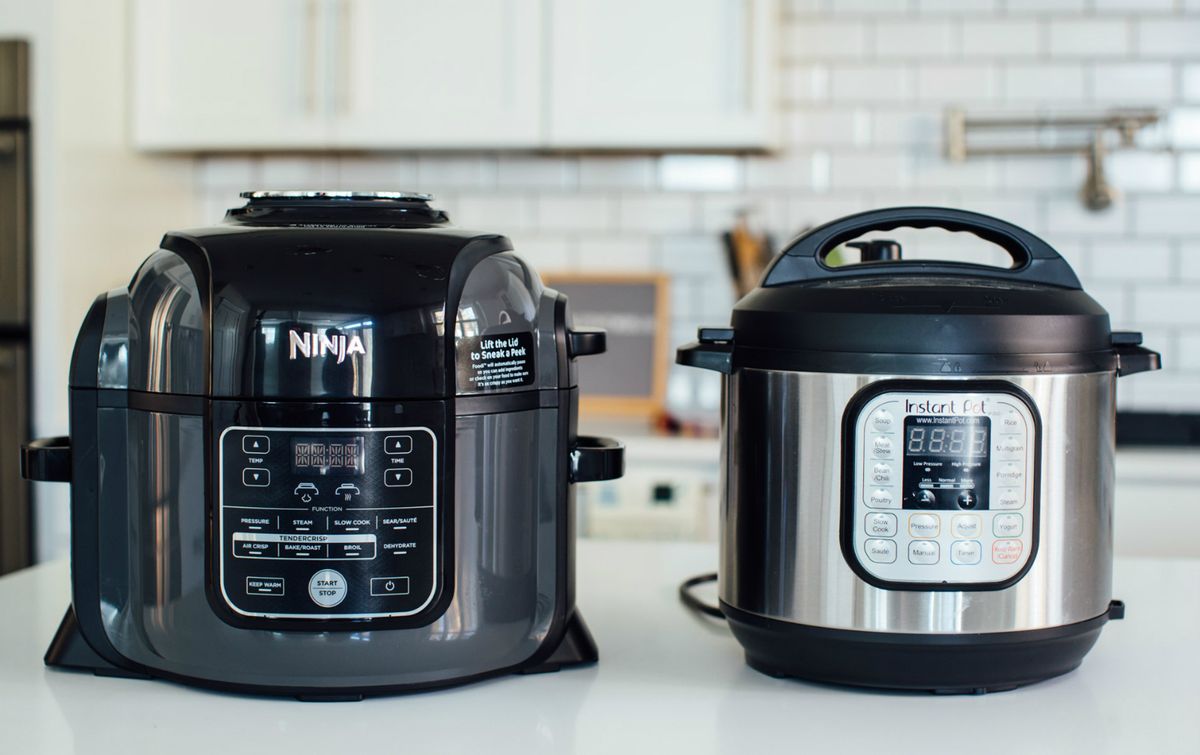
- Ninja Foodi: Combines baking and cooking functions for a one-pot meal, essential for baking the cherry biscuit tart.
- Bowl: Used for mixing dry ingredients and cutting in butter to create the biscuit dough.
Cherry Biscuit Tart Recipe: Made in the Ninja Foodi
Equipment
- Ninja Foodi
Ingredients:
Main Ingredients
- 2 cups all-purpose flour
- 1/2 cup sugar
- 1 tablespoon baking powder
- 1/2 teaspoon salt
- 1/2 cup cold butter, cubed
- 1 cup milk
- 1 can cherry pie filling
Read more: Taco Pie Recipe: Made in the Ninja Foodi
Instructions:
- Preheat the Ninja Foodi to 350°F (180°C).
- In a bowl, mix the flour, sugar, baking powder, and salt.
- Cut in the cold butter until the mixture resembles coarse crumbs.
- Stir in the milk until just combined.
- Spread the dough in the bottom of the Ninja Foodi.
- Spoon the cherry pie filling over the dough.
- Close the Ninja Foodi lid and cook for 25 minutes or until the biscuit is golden brown.
- Serve warm and enjoy!
Notes:
Nutrition value:
Keywords:
Read more: Pizza Monkey Bread in the Ninja Foodi Recipe
Prepare in Advance: Tips for Making and Storing Your Tart
Make Ahead Instructions
- Prepare the cherry biscuit tart as directed, but do not bake.
- Cover the ninja foodi with plastic wrap and store in the refrigerator for up to 24 hours.
- When ready to bake, remove from the refrigerator, let it sit at room temperature for 15 minutes, then bake as directed.
Freezing Instructions
- After assembling the cherry biscuit tart, cover it tightly with plastic wrap and aluminum foil.
- Label with the date and freeze for up to 3 months.
- To bake from frozen, remove the wrapping and bake in the ninja foodi at 350°F (180°C) for 40-45 minutes or until heated through.
One interesting fact about this cherry biscuit tart recipe is that you can try using different fruit pie fillings like blueberry or apple to create unique flavor variations. Experimenting with different fillings can add a fun twist to this classic dessert!


0 thoughts on “Cherry Biscuit Tart Recipe: Made in the Ninja Foodi”