(Many of the links in this article redirect to a specific reviewed product. Your purchase of these products through affiliate links helps to generate commission for HomePressureCooking.com, at no extra cost. Learn more)
Let me tell you about my go-to weeknight dinner that's bursting with flavor. This instant pot Thai basil chicken fried rice recipe is a game-changer. I stumbled upon it while experimenting with my pressure cooker, and now it's become a family favorite. Combining aromatic basil, savory soy sauce, and tender chicken, this dish packs a punch in every bite. Best part? It's ready in minutes, perfect for those hectic evenings when you're craving something delicious but short on time. Trust me, once you try this, you'll be hooked!
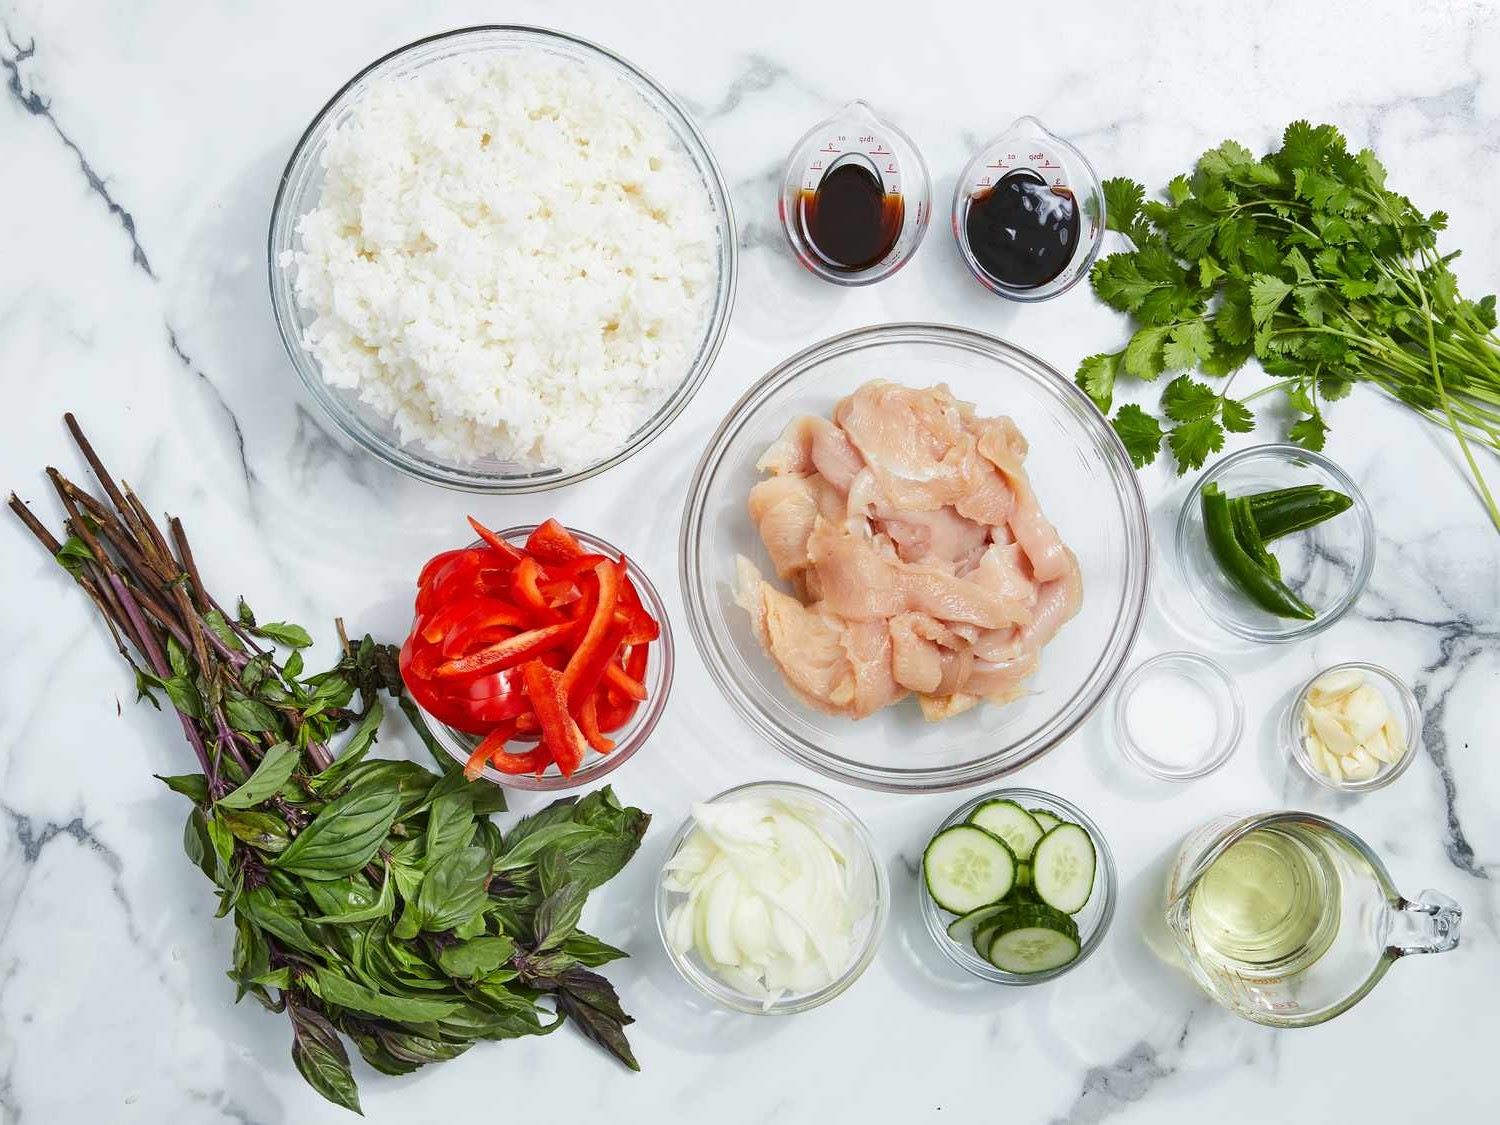
Ingredients You'll Need
- Oil: Essential for cooking the chicken and vegetables, adding flavor and preventing sticking in the instant pot.
- Chicken: Protein base of the dish, adds heartiness and flavor to the fried rice.
- Garlic: Infuses the dish with aromatic flavor, enhancing the overall taste of the fried rice.
- Red bell pepper: Adds sweetness and crunch, as well as a pop of color to the fried rice.
- Peas: Brings a touch of sweetness and color, adding texture and flavor to the dish.
- Rice: The base of the dish, absorbs the flavors of the sauces and ingredients, creating a satisfying meal.
- Soy sauce: Provides saltiness and umami flavor, essential for seasoning and enhancing the overall taste of the dish.
- Oyster sauce: Adds depth of flavor and richness to the dish, complementing the other sauces and ingredients.
- Fish sauce: Enhances the savory flavor profile of the dish, adding a unique umami taste.
- Sugar: Balances out the saltiness and enhances the overall flavor profile of the fried rice.
- Basil leaves: Adds a fresh, aromatic flavor to the dish, elevating the taste and providing a hint of Thai cuisine.
Essential Tools for Making This Dish
- Instant Pot: Essential for pressure cooking the rice and chicken quickly without compromising on flavor.
- Knife: Needed to dice the chicken and vegetables for even cooking and distribution of ingredients.

Instant Pot Thai Basil Chicken Fried Rice Recipe
Equipment
- Instant Pot
Ingredients:
Main Ingredients
- 2 tablespoons oil
- 1 pound boneless, skinless chicken breast, diced
- 3 cloves garlic, minced
- 1 red bell pepper, diced
- 1 cup frozen peas
- 4 cups cooked rice
- 3 tablespoons soy sauce
- 2 tablespoons oyster sauce
- 1 tablespoon fish sauce
- 1 tablespoon sugar
- 1 cup fresh basil leaves
Instructions:
- Set the Instant Pot to sauté mode and heat the oil.
- Add the chicken and garlic, and cook until the chicken is browned.
- Add the bell pepper and peas, and cook for another 2 minutes.
- Stir in the cooked rice, soy sauce, oyster sauce, fish sauce, and sugar.
- Close the Instant Pot lid and set to manual high pressure for 1 minute.
- Quick release the pressure and stir in the fresh basil leaves before serving.
Notes:
Nutrition value:
Keywords:
Tips for Making Ahead and Freezing
Make Ahead Instructions
- Cook the recipe as directed and let it cool completely.
- Store in an airtight container in the refrigerator for up to 3 days.
- Reheat in the microwave or on the stovetop before serving.
Freezing Instructions
- Allow the dish to cool to room temperature.
- Place in a freezer-safe container or bag, removing as much air as possible.
- Label with the date and store in the freezer for up to 3 months.
- Thaw overnight in the refrigerator before reheating.
One interesting fact about this instant pot Thai basil chicken fried rice recipe is that you can add a splash of coconut milk for a subtle tropical flavor twist. It complements the dish beautifully and adds a unique touch to the traditional recipe.


0 thoughts on “Instant Pot Thai Basil Chicken Fried Rice Recipe”