(Many of the links in this article redirect to a specific reviewed product. Your purchase of these products through affiliate links helps to generate commission for HomePressureCooking.com, at no extra cost. Learn more)
The Magic of Mod Podge
There’s something special about taking an ordinary object and turning it into a work of art. It’s a process that requires patience, creativity, and a little bit of magic. And when it comes to magic, nothing beats Mod Podge. This versatile medium can transform any surface into a canvas for your imagination. Today, we’re going to focus on a simple yet impactful project: a Mod Podge recipe box makeover.
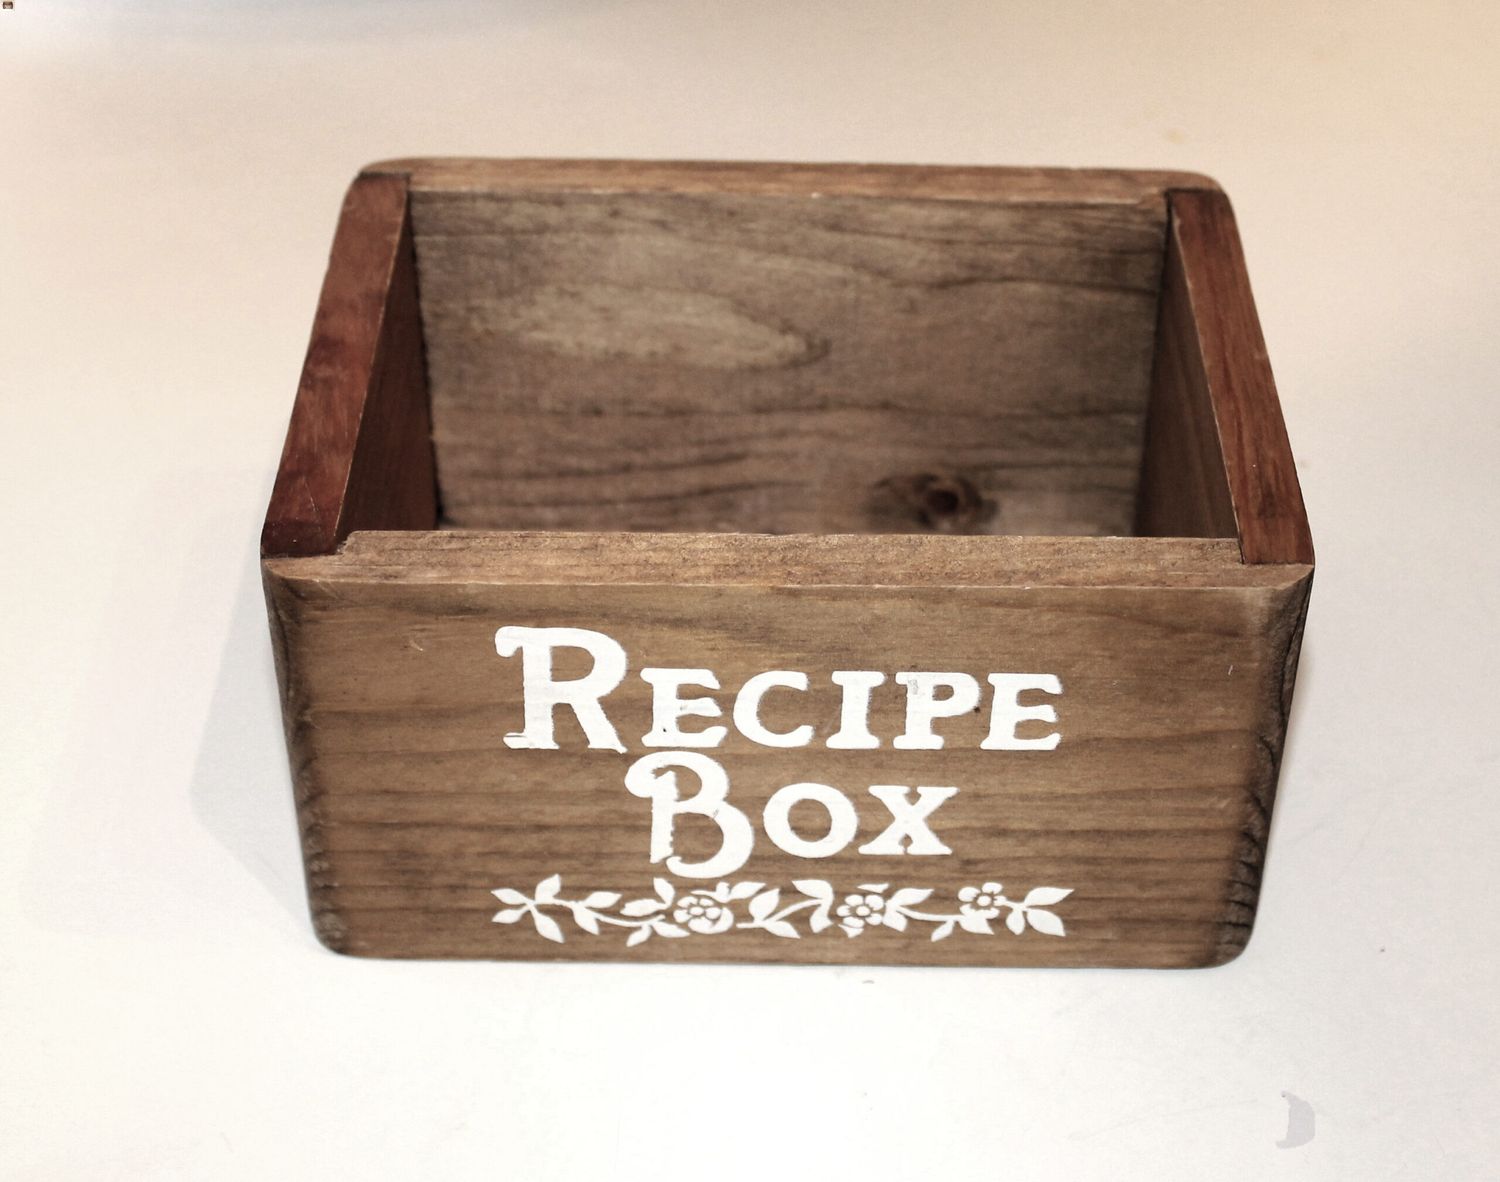
The Humble Recipe Box
Before we dive into the transformation, let’s take a moment to appreciate the recipe box. It’s a staple in many kitchens, holding cherished family recipes, quick meal ideas, and baking experiments. But often, it’s overlooked as a decorative piece. With Mod Podge, we can change that.
Gathering Your Materials
Before we start, we need to gather our materials. Here’s what you’ll need:
- A wooden recipe box
- Mod Podge (matte or glossy, depending on your preference)
- A foam brush
- Scrapbook paper or fabric
- Scissors
- A pencil
- Clear acrylic sealer (optional)
Step 1: Preparing Your Box
First things first, you need to prepare your box. If it’s painted or varnished, you might want to lightly sand it for better adhesion. Wipe it clean to remove any dust.
Step 2: Cutting Your Paper or Fabric
Next, you need to cut your scrapbook paper or fabric. Place your box on the material, trace around it with a pencil, and then cut it out. Remember to cut pieces for all sides of the box, including the top.
Read more: Butter Recipe
Step 3: Applying Mod Podge
Now comes the fun part: applying Mod Podge. Using your foam brush, apply a thin layer of Mod Podge to one side of the box. Then, carefully place your cut-out material on the Mod Podge, smoothing out any wrinkles or bubbles. Repeat this process for all sides of the box.
Step 4: Sealing Your Box
Once the Mod Podge has dried, you can apply a top coat to seal your box. This step is optional, but it can help protect your box from wear and tear. Simply apply a thin layer of Mod Podge or clear acrylic sealer, and let it dry.
The Final Result
And there you have it: a Mod Podge recipe box makeover. This simple project can add a touch of creativity to your kitchen, and it’s a great way to showcase your personal style. Plus, it makes a great gift for friends and family.
The Power of Creativity
A Mod Podge recipe box makeover is more than just a craft project. It’s a way to inject personality and creativity into your kitchen, turning an ordinary object into a work of art. With simple materials and a bit of imagination, you can transform your recipe box into a beautiful and functional piece that reflects your personal style. So, roll up your sleeves, and let’s breathe new life into that old recipe box. Your kitchen, and your recipes, deserve it!


0 thoughts on “Mod Podge Recipe Box Makeover: Transforming Your Kitchen Creatively”