(Many of the links in this article redirect to a specific reviewed product. Your purchase of these products through affiliate links helps to generate commission for HomePressureCooking.com, at no extra cost. Learn more)
A Step-by-Step Guide to Making Stuffed Peppers in the Ninja Foodi
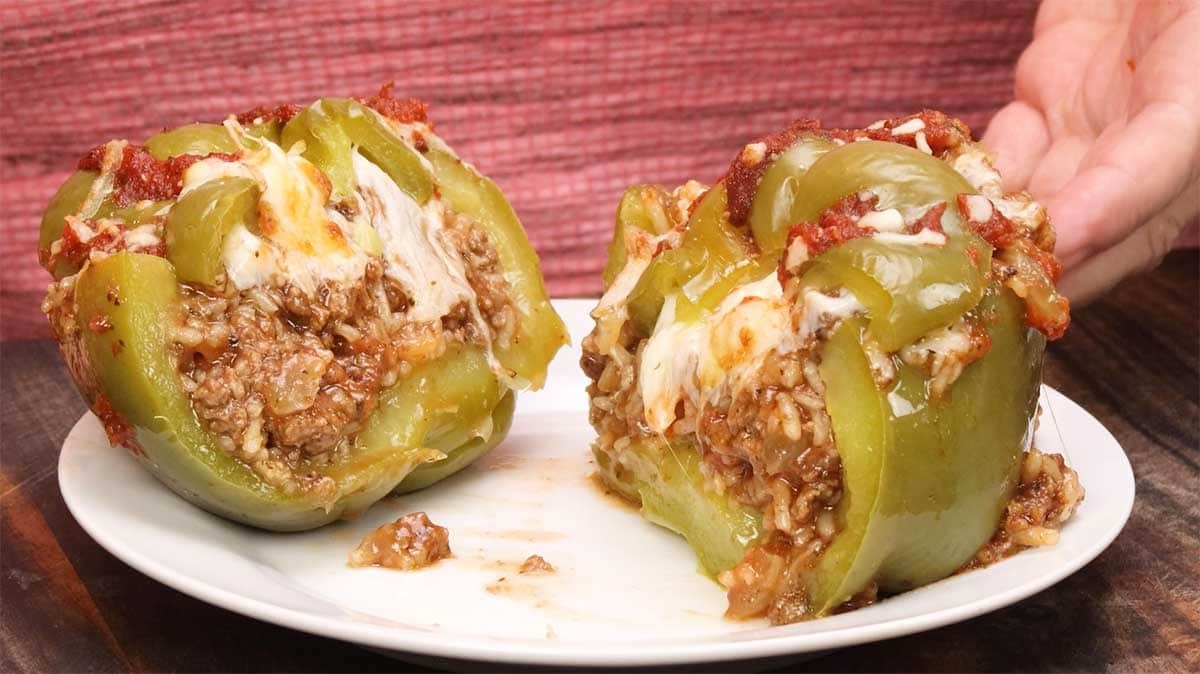
I’ve always been on the lookout for recipes that blend both taste and nutrition without making things too complicated in the kitchen. That’s where stuffed peppers made in my Ninja Foodi come into play. These aren’t just any stuffed peppers; they’re a symphony of flavors and colors, all wrapped up in a neat, edible package. Using the Ninja Foodi simplifies the process, making it a breeze to cook up a batch of these delightful peppers. So, let’s get into how you can make your kitchen smell amazing and your taste buds dance with this straightforward recipe.
Ingredients You’ll Need
Before we start, let’s gather all the necessary ingredients. For this recipe, you’ll need:
- 4 large bell peppers
- 1 pound of ground beef or turkey
- 1 cup of cooked rice
- 1 onion, diced
- 2 cloves of garlic, minced
- 1 can of diced tomatoes
- 1 cup of shredded cheese
- Salt and pepper to taste
Preparation Steps
1. Prep the Peppers
Start by washing the bell peppers and cutting off the tops. Remove the seeds and membranes, leaving a hollow shell. Set these aside for later.
2. Cook the Filling
Next, turn on your Ninja Foodi and set it to the sauté function. Add the ground meat, onion, and garlic, cooking until the meat is browned and the onions are translucent. Drain any excess fat.
3. Mix in the Rest
Add the cooked rice and diced tomatoes to the meat mixture, stirring well. Season with salt and pepper to your liking.
4. Stuff the Peppers
Now comes the fun part! Spoon the filling into each pepper, packing it down to ensure they’re well-stuffed. Top each one with a generous sprinkle of shredded cheese.
Cooking in the Ninja Foodi
1. Pressure Cook
Place the stuffed peppers into the Ninja Foodi pot. Secure the pressure cooking lid, making sure the valve is set to “seal”. Select the pressure cook setting and set the timer for 5 minutes.
2. Release and Broil
Once the cooking time is up, carefully quick release the pressure. Then, remove the pressure cooking lid and replace it with the crisping lid. Select the broil setting and set the timer for 2-3 minutes, or until the cheese is bubbly and golden.
3. Serve and Enjoy
Carefully remove the peppers from the pot (they’ll be hot!) and let them cool for a few minutes before serving. These stuffed peppers are a meal in themselves, but they also pair well with a fresh salad or some crusty bread.
Final Word
Stuffed peppers in the Ninja Foodi are a fantastic meal option that’s not only easy to make but also customizable to suit your dietary preferences. Whether you’re a fan of spicy, savory, or cheesy, adjusting the filling allows for endless variations. Not to mention, this dish is a great way to sneak in some veggies for those who are less inclined towards greens.
With every bite offering a mix of flavors and textures, from the soft, sweet pepper to the hearty, flavorful filling, it’s a dish that’s bound to become a favorite. Plus, it’s a great make-ahead option for meal prepping, as these peppers reheat wonderfully.
So, why not give this recipe a try? With the Ninja Foodi, creating a delicious, satisfying meal like stuffed peppers is not only achievable but also a fun way to experiment with ingredients you love. Bon appétit!


0 thoughts on “How to Make Stuffed Peppers in the Ninja Foodi”