(Many of the links in this article redirect to a specific reviewed product. Your purchase of these products through affiliate links helps to generate commission for HomePressureCooking.com, at no extra cost. Learn more)
The Magic of Mason Jar Lids in the Ninja Foodi
Eggs, versatile and nutritious, find their way into breakfast plates across the globe. But have you ever thought about baking eggs using mason jar lids in a Ninja Foodi? It sounds unconventional, yet it’s a straightforward and creative method to cook this staple ingredient.
What You’ll Need
Before we begin, let’s gather our ingredients and tools. Here’s what you’ll need:
- Mason jar lids: The secret weapon of this recipe. Make sure they’re wide-mouthed for best results.
- Eggs: Fresh is best. You’ll need one egg per mason jar lid.
- Ninja Foodi: This versatile kitchen gadget is perfect for this recipe.
- Cooking spray: To prevent the eggs from sticking to the lids.
- Seasonings: Salt, pepper, and any other spices you prefer.
Step-by-Step Guide
Now that we have everything ready, let’s dive into the process.
Step 1: Prep Your Lids
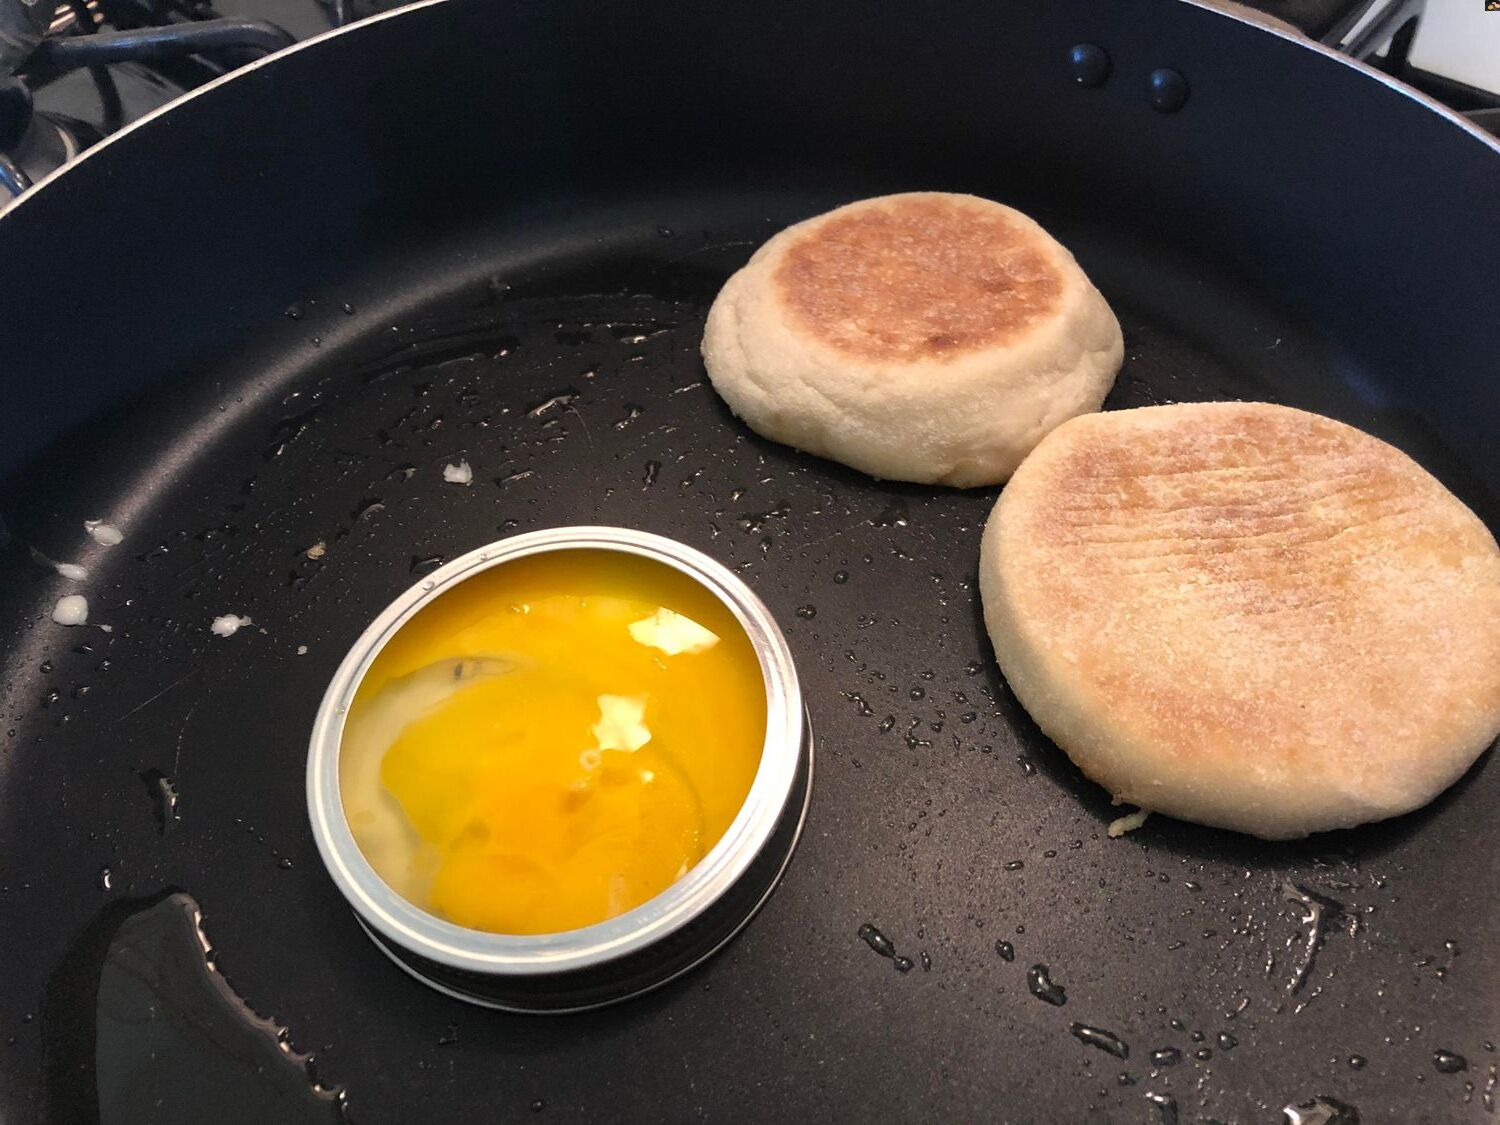
Give your mason jar lids a good wash and dry them thoroughly. Then, spray the inside of each lid with a bit of cooking spray. This will ensure your eggs don’t stick.
Step 2: Crack Your Eggs
Carefully crack an egg into each mason jar lid. Try to keep the yolk intact for a beautiful presentation.
Step 3: Season
Sprinkle your eggs with a bit of salt, pepper, and any other seasonings you like. A pinch of paprika or a sprinkle of cheese can add a nice touch.
Step 4: Set Up Your Ninja Foodi
Place the mason jar lids on the rack in your Ninja Foodi. Make sure they’re evenly spaced and stable.
Step 5: Bake
Close the lid of your Ninja Foodi and set it to the bake function. Bake your eggs at 350°F for about 10-15 minutes, or until they’re cooked to your liking.
Step 6: Serve and Enjoy
Once your eggs are done, carefully remove the mason jar lids from the Ninja Foodi using oven mitts or tongs. Let them cool for a minute or two, then serve and enjoy!
Tips and Tricks
Baking eggs in mason jar lids is pretty straightforward, but here are a few tips to help you get the best results:
- Don’t overfill: If you put too much egg into the lid, it might overflow during cooking. Stick to one egg per lid to avoid this.
- Check doneness: Everyone likes their eggs cooked differently. Check your eggs a few minutes before the suggested cooking time ends to make sure they’re done to your liking.
- Get creative: Feel free to add other ingredients to your eggs. A bit of diced ham, some chopped veggies, or a sprinkle of cheese can make these baked eggs even more delicious.
Using mason jar lids to bake eggs in the Ninja Foodi is a simple, efficient, and inventive approach to breakfast. It marries the convenience of portion control with the delight of customization, making each meal a personal experience. Whether you’re a cooking novice or a seasoned chef, this technique promises to add a twist to your culinary repertoire, proving that sometimes, the best dishes come from thinking outside the box—or in this case, the traditional frying pan. Give it a try, and watch as this method becomes a cherished part of your morning routine.


0 thoughts on “How to Bake Eggs Using Mason Jar Lids in the Ninja Foodi”