(Many of the links in this article redirect to a specific reviewed product. Your purchase of these products through affiliate links helps to generate commission for HomePressureCooking.com, at no extra cost. Learn more)
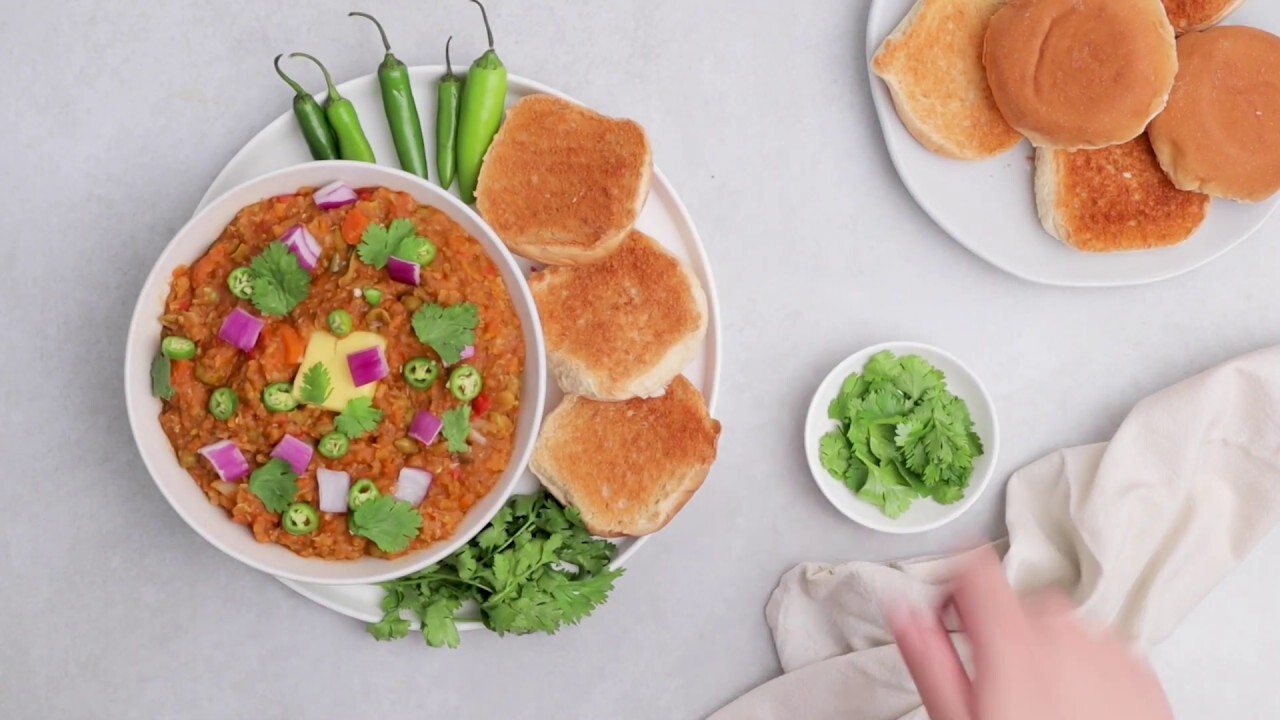
I've been perfecting my instant pot pav bhaji for years, and I'm thrilled to share this game-changing recipe with you. Get ready for a burst of Indian flavors that'll transport your taste buds straight to Mumbai's bustling streets. This one-pot wonder combines hearty vegetables with aromatic spices, creating a mouthwatering curry that pairs perfectly with buttery bread rolls. Trust me, once you try this quick and easy version, you'll never go back to the traditional method again.
Ingredients You'll Need for This Delicious Dish
- Mixed vegetables: A medley of carrots, peas, cauliflower, and potatoes create a hearty and flavorful base for the pav bhaji.
- Onion: Adds a sweet and savory depth to the dish, enhancing the overall flavor profile of the pav bhaji.
- Tomatoes: Bring a tangy and slightly acidic taste, balancing the richness of the dish and adding a fresh element.
- Bell pepper: Provides a subtle sweetness and crunch, complementing the other vegetables in the pav bhaji.
- Garlic: Infuses a pungent and aromatic flavor, elevating the taste of the dish with its bold notes.
- Ginger: Adds a warm and spicy kick, enhancing the overall complexity of flavors in the pav bhaji.
- Pav bhaji masala: A blend of spices that gives the dish its signature taste, with a perfect balance of flavors.
- Red chili powder: Adds heat and a vibrant red color to the pav bhaji, providing a spicy kick to the dish.
- Butter: Creates a rich and creamy texture, adding a luxurious finish to the pav bhaji.
- Fresh coriander leaves: A fresh and herbaceous garnish that adds a pop of color and a burst of freshness to the dish.
- Pav (bread rolls): Served alongside the pav bhaji, these soft and buttery rolls are perfect for soaking up the flavorful bhaji.
Essential Tools and Equipment for Making Pav Bhaji in an Instant Pot
- Instant Pot: Essential for pressure cooking the vegetables quickly, saving time and infusing flavors efficiently.
- Knife: Needed for chopping vegetables and ensuring they are cut to the right size for even cooking.
- Cutting board: Provides a stable surface for chopping vegetables and prevents damage to countertops or knives.
- Spatula: Helps in stirring and mixing the bhaji without scratching the instant pot surface.

Instant Pot Pav Bhaji Recipe: Flavorful & Fast
Equipment
- Instant Pot
Ingredients:
Main Ingredients
- 2 cups mixed vegetables (carrots, peas, cauliflower, potatoes)
- 1 onion, finely chopped
- 2 tomatoes, finely chopped
- 1 bell pepper, finely chopped
- 4 cloves garlic, minced
- 1 inch piece of ginger, grated
- 2 tbsp pav bhaji masala
- 1 tsp red chili powder
- to taste Salt
- 2 tbsp butter
- Fresh coriander leaves for garnish
- Pav (bread rolls) for serving
Instructions:
- Pressure cook the mixed vegetables until soft. Mash them coarsely and set aside.
- In the Instant Pot, sauté onions, garlic, and ginger until fragrant.
- Add tomatoes, bell pepper, pav bhaji masala, red chili powder, and salt. Cook until tomatoes are soft.
- Mix in the mashed vegetables and cook for a few minutes.
- Add butter and let it melt into the bhaji.
- Garnish with fresh coriander leaves.
- Serve hot with buttered pav.
Notes:
Nutrition value:
Keywords:
Tips for Making Pav Bhaji Ahead of Time and Freezing Instructions
Make Ahead Instructions
- Prepare the pav bhaji as per the recipe.
- Let it cool completely.
- Store in an airtight container in the refrigerator for up to 2 days.
Freezing Instructions
- Cool the pav bhaji completely.
- Transfer to a freezer-safe container or bag.
- Label with the date and store in the freezer for up to 3 months.
Adding a dash of beetroot to the pav bhaji mix not only enhances the color but also adds a subtle sweetness to the dish.


0 thoughts on “Instant Pot Pav Bhaji Recipe: Flavorful & Fast”