(Many of the links in this article redirect to a specific reviewed product. Your purchase of these products through affiliate links helps to generate commission for HomePressureCooking.com, at no extra cost. Learn more)
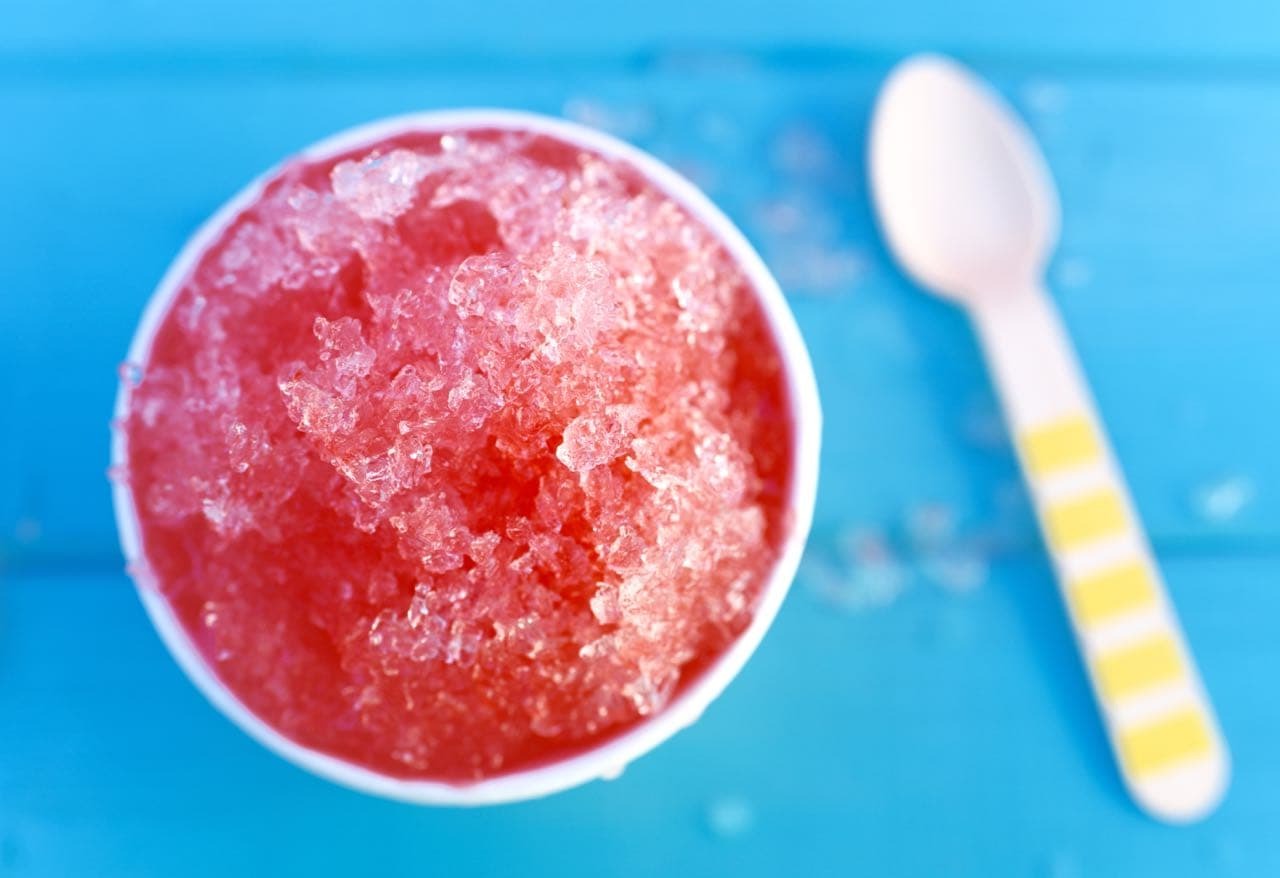
Ever craved a snow cone on a hot day but didn't have the right syrup? This easy recipe will save you. With just a few ingredients, you can whip up a batch of homemade syrup that tastes way better than store-bought. Customize it with your favorite flavor extract and even add a splash of food coloring for that classic look. Let's dive in and make your summer treats even cooler!
What You Will Need
What you will need to make snow cone syrup
- Sugar: Provides the essential sweetness and syrupy consistency, making the snow cone deliciously sweet and enjoyable.
- Water: Acts as the base, dissolving the sugar and creating the liquid syrup needed for the snow cone.
- Flavor extract: Adds the desired taste, giving each snow cone its unique and delightful flavor.
- Food coloring: Optional but enhances the visual appeal, making the snow cone vibrant and fun to eat.
Tools and Instruments Required
What tools/instruments will be needed to make Snow Cone Syrup Recipe
- Saucepan: Essential for dissolving sugar in water over medium heat. Ensures even heating and prevents burning.
- Wooden spoon: Ideal for stirring the sugar and water mixture. Won't scratch the saucepan and provides good control.
- Measuring cups: Accurate measurements of sugar and water are crucial. Ensures the right consistency and sweetness.
- Measuring spoons: Needed for precise amounts of flavor extract and food coloring. Maintains the balance of flavors.
- Storage container: Keeps the syrup fresh in the refrigerator. Easy to pour when ready to use.
Snow Cone Syrup Recipe
Simple and sweet syrup for snow cones.
Print
Jump to comment
Pin This
Equipment
- Saucepan
- Spoon
- Storage container
Ingredients:
Main Ingredients
- 2 cups Sugar
- 1 cup Water
- 1 tsp Flavor extract (any flavor)
- 2 drops Food coloring (optional)
Instructions:
- Combine sugar and water in a saucepan over medium heat.
- Stir until the sugar is completely dissolved.
- Remove from heat and let it cool.
- Once cool, add flavor extract and food coloring if using.
- Store in a container and refrigerate until ready to use.
Notes:
Use any flavor extract you like. Adjust the amount of food coloring to achieve desired color.
Nutrition value:
Calories: 100kcalCarbohydrates: 25gSugar: 25g
Keywords:
Tried this recipe?Let us know how it was!
Make Ahead and Freezing Tips
Make Ahead Instructions
- Prepare syrup as directed.
- Let it cool completely.
- Store in an airtight container.
- Refrigerate for up to 1 month.
Freezing Instructions
- Pour cooled syrup into ice cube trays.
- Freeze until solid.
- Transfer cubes to a freezer bag.
- Store in the freezer for up to 3 months.
- Thaw cubes in the fridge before use.
Adding a pinch of citric acid to the syrup can enhance the flavor and help preserve it longer.
Frequently Asked Questions
FAQ:
How long does the syrup last?
It lasts up to a month in the fridge.
Can I use less sugar?
Yes, but it might affect the texture and sweetness.
What kind of flavor extracts work best?
Any flavor extract works, like vanilla, cherry, or lemon.
Do I need to use food coloring?
No, it's optional. It just adds visual appeal.
Can I make this syrup without heating?
No, heating helps dissolve the sugar completely.
0 thoughts on “Snow Cone Syrup Recipe”