(Many of the links in this article redirect to a specific reviewed product. Your purchase of these products through affiliate links helps to generate commission for HomePressureCooking.com, at no extra cost. Learn more)
Chinese steamed buns are a delightful treat that brings a taste of China right to your kitchen. Soft, fluffy, and versatile, these buns can be filled with anything from savory meats to sweet pastes. Perfect for breakfast, lunch, or a snack, they’re surprisingly easy to make. Follow this simple recipe to create your own batch of these delicious steamed buns at home.
What You Will Need
What you will need to make Chinese steamed buns
- All-purpose flour: Forms the base of the dough, providing structure and texture for the buns.
- Warm water: Activates the yeast, ensuring the dough rises properly.
- Sugar: Feeds the yeast, helping the dough rise and adding a hint of sweetness.
- Yeast: Leavens the dough, creating light and fluffy buns.
- Vegetable oil: Adds moisture and richness, making the buns tender.
Essential Tools and Instruments
What tools/instruments will be needed to make Chinese Steamed Buns Recipe
- Mixing bowl: Essential for combining flour, salt, yeast mixture, and oil. Ensures even distribution of ingredients.
- Measuring cups: Accurate measurement of flour, water, sugar, and oil. Precision is key for dough consistency.
- Steamer: Vital for cooking buns. Provides the necessary steam to cook them evenly and keep them soft.
- Rolling pin: Helps flatten dough balls before filling. Ensures uniform thickness for even cooking.
- Kitchen scale: Useful for weighing ingredients. Ensures precise measurements, especially for flour and water.
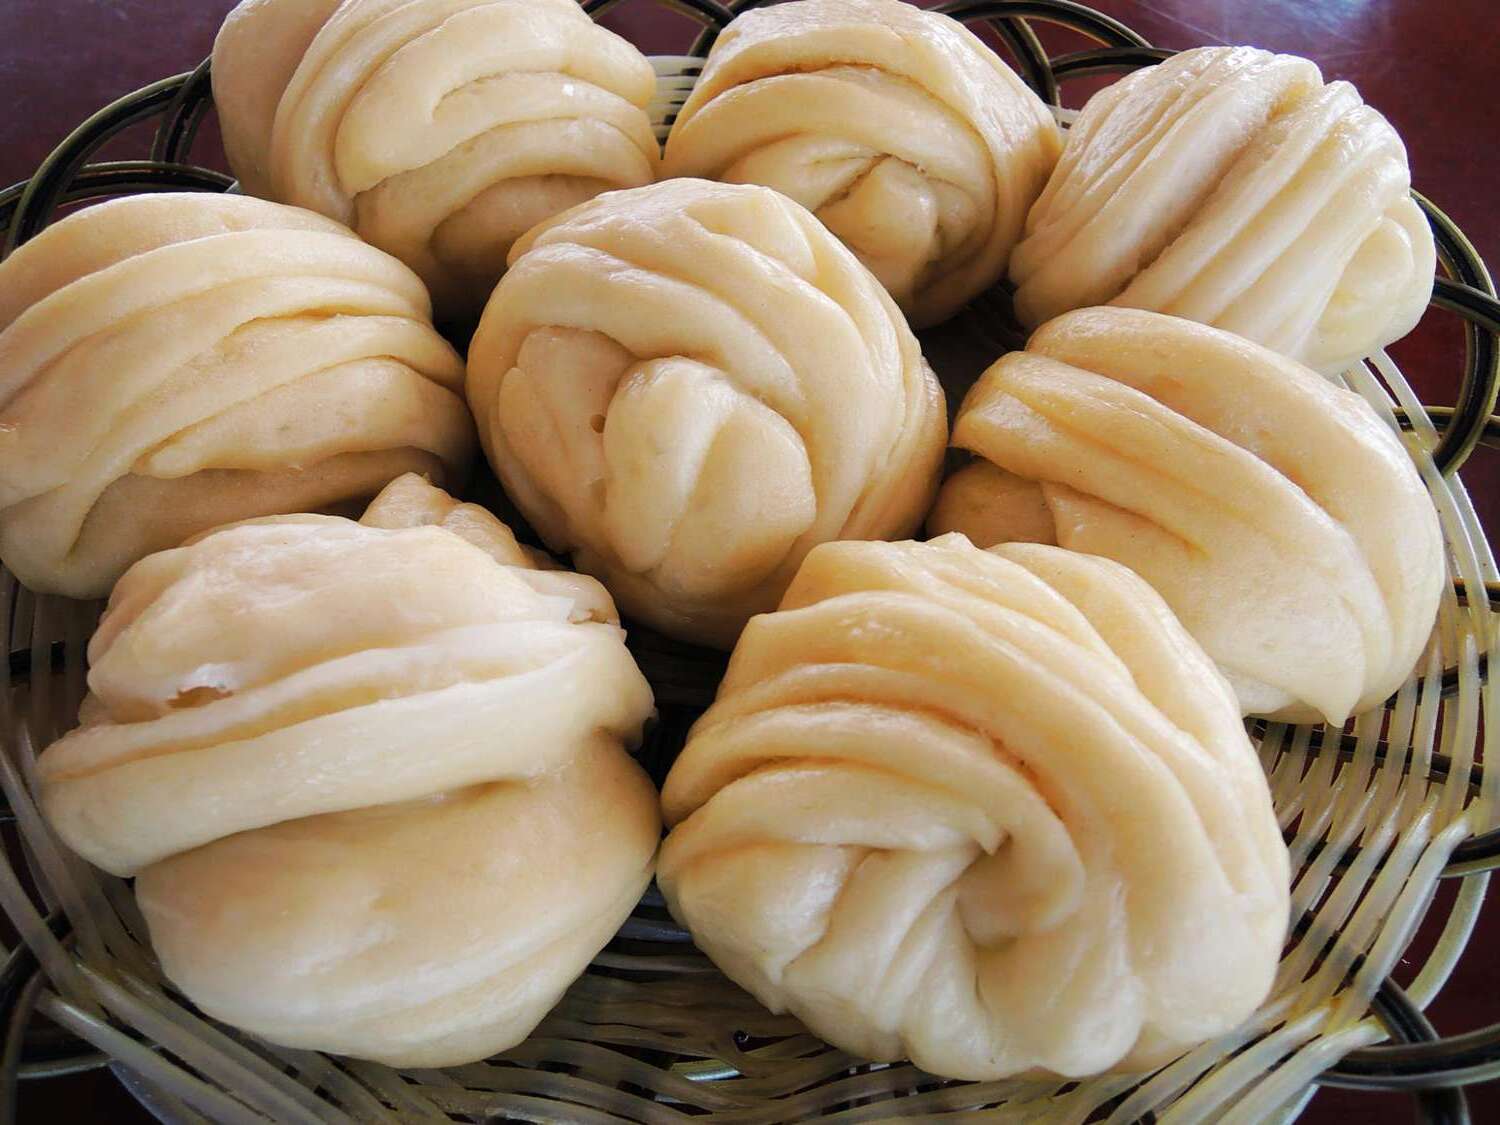
Chinese Steamed Buns Recipe
Soft and fluffy Chinese steamed buns, perfect for any filling or just on their own.
Print
Jump to comment
Equipment
- Steamer
Ingredients:
Dough
- 2 cups all-purpose flour
- 1/2 cup warm water
- 1/4 cup sugar
- 1 tsp yeast
- 1 tbsp vegetable oil
- 1 pinch salt
Instructions:
- Mix warm water, sugar, and yeast. Let it sit for 10 minutes.
- In a bowl, combine flour and salt. Add yeast mixture and oil.
- Knead the dough until smooth. Let it rise for 1 hour.
- Divide dough into small balls. Flatten and fill if desired.
- Steam buns for 15 minutes.
Notes:
For a savory filling, try minced pork or vegetables. For a sweet filling, use red bean paste.
Nutrition value:
Calories: 150kcalCarbohydrates: 30gProtein: 4gFat: 2gSaturated Fat: 0.5gSodium: 150mgPotassium: 50mgFiber: 1gSugar: 5gCalcium: 20mgIron: 1mg
Keywords:
Tried this recipe?Let us know how it was!
Make Ahead and Freezing Tips
Make Ahead Instructions
- Prepare dough as directed.
- Let dough rise, then shape into buns.
- Place shaped buns on a baking sheet.
- Cover with plastic wrap.
- Refrigerate for up to 24 hours.
Freezing Instructions
- Shape dough into buns.
- Place buns on a baking sheet.
- Freeze until solid.
- Transfer to a freezer bag.
- Store for up to 3 months.
- Steam directly from frozen for 20 minutes.
Did you know that adding a tiny bit of vinegar to the dough can make Chinese steamed buns even fluffier?
Frequently Asked Questions
FAQ:
How long do the buns need to rise?
About 1 hour.
Can I use whole wheat flour instead?
Yes, but the texture will be denser.
Do I need a special steamer?
A regular steamer works fine.
Can I freeze the buns?
Yes, freeze after steaming.
What fillings work best?
Pork, chicken, or sweet red bean paste.
0 thoughts on “Chinese Steamed Buns Recipe”