Home>Article>How to Make the Best Beer Can Chicken on the BBQ
Article
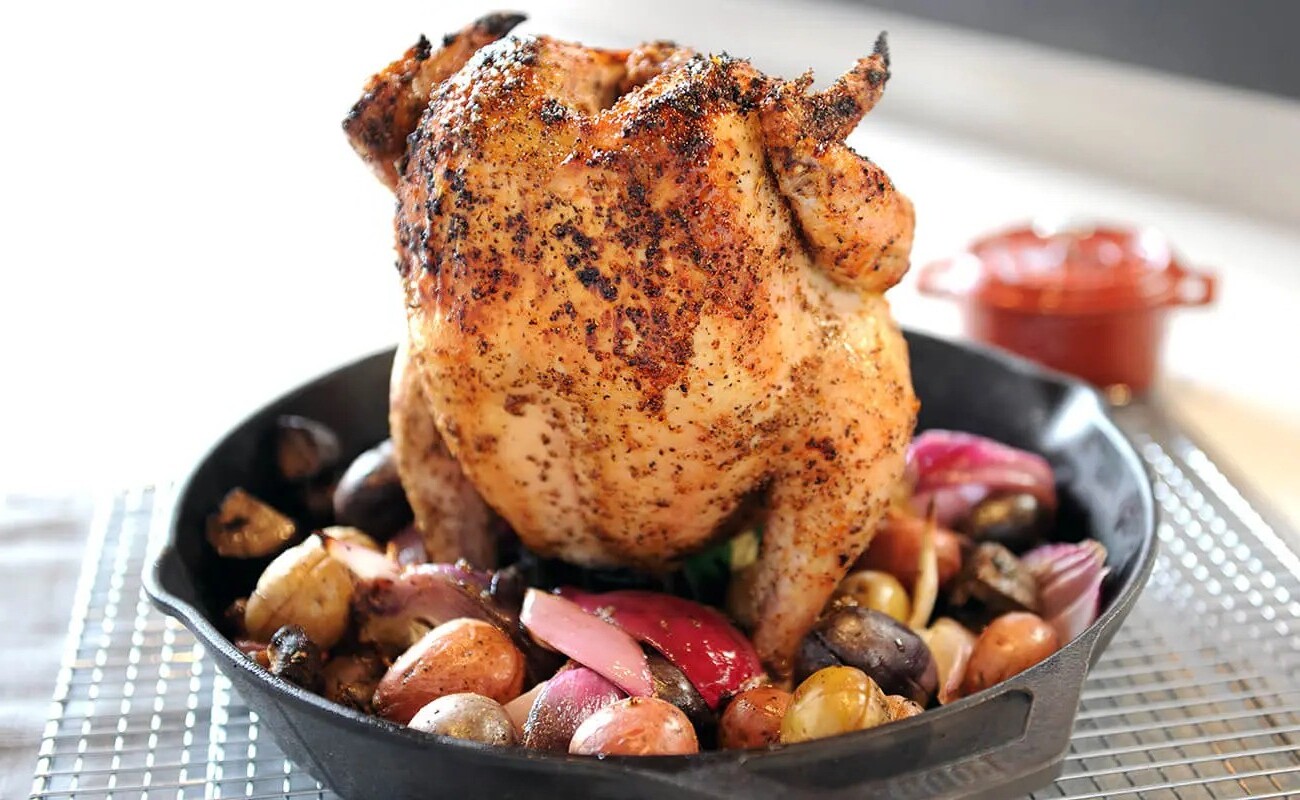
How to Make the Best Beer Can Chicken on the BBQ
Modified: April 4, 2024
(Many of the links in this article redirect to a specific reviewed product. Your purchase of these products through affiliate links helps to generate commission for HomePressureCooking.com, at no extra cost. Learn more)
The Secret to Perfect BBQ Beer Can Chicken
Making beer can chicken on your BBQ is not just an impressive trick to pull out during backyard gatherings; it’s a surefire way to ensure juicy, flavorful poultry that’s the talk of the town. This guide walks you through the steps to achieve that perfect beer can chicken, promising a feast that’s both delicious and memorable.
Read more: Beer Can Chicken in the Instant Pot Recipe
The Basics
Ingredients:
- 1 whole chicken (about 4-5 pounds)
- 1 can of your favorite beer
- 2 tablespoons of olive oil
- Your choice of dry rub seasoning
Equipment:
- A BBQ grill
- A meat thermometer
Step-by-Step Guide
1. Prep Your Chicken
First things first, you need to prep your chicken. Remove any giblets from inside the chicken and give it a good rinse. Pat it dry with some paper towels. This step is crucial for getting that crispy skin we all love.
2. Season Your Bird
Next, rub your chicken down with olive oil. This helps the seasoning stick and also aids in achieving a golden brown color. Then, liberally apply your dry rub seasoning. Don’t forget to season the inside of the bird too!
3. Prep Your Beer Can
Open your beer can and pour out (or drink) about half of it. This creates steam inside the chicken as it cooks, keeping it moist and juicy.
4. Mount the Chicken
Now comes the fun part. Carefully slide the chicken onto the beer can. The can should fit snugly inside the chicken, and the bird should be able to stand upright.
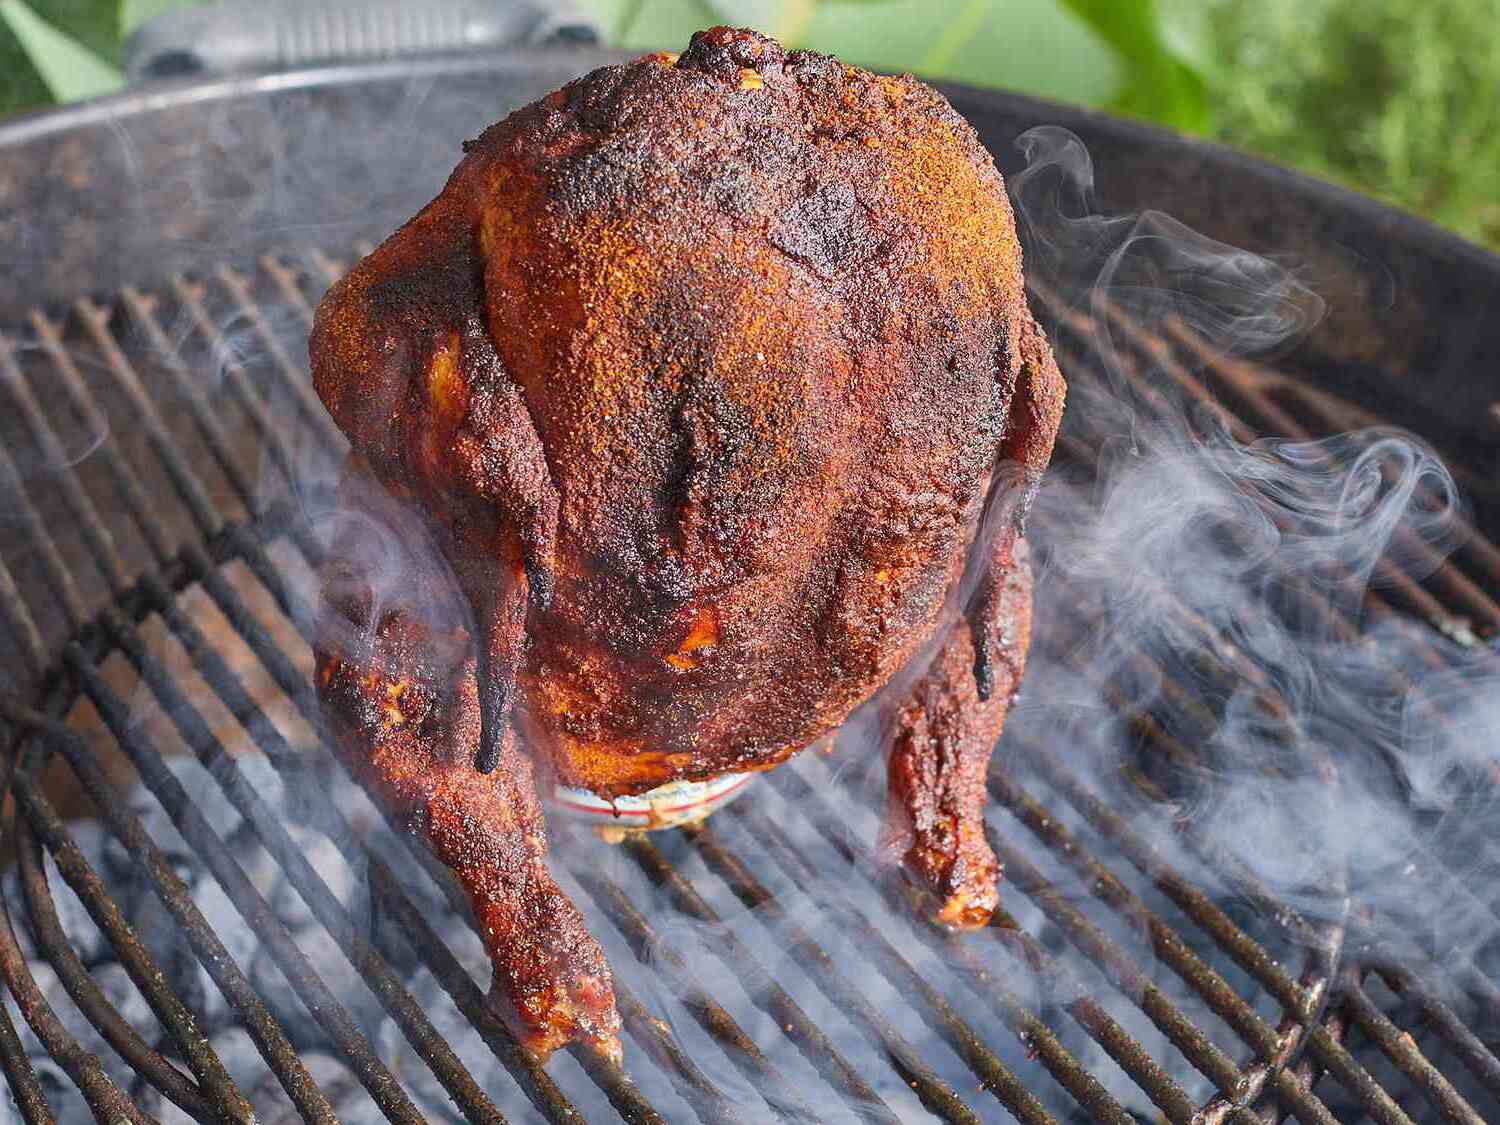
5. Grill Time
Preheat your BBQ to medium heat. Once it’s hot, place your beer can chicken on the grill, using the beer can and chicken legs to create a tripod. Close the lid and let it cook.
6. Check the Temperature
After about an hour, start checking the chicken’s internal temperature. You’re aiming for 165°F in the thickest part of the thigh.
7. Let it Rest
Once your chicken is cooked, carefully remove it from the grill (remember, the beer can is hot!). Let it rest for about 10 minutes before carving. This allows the juices to redistribute throughout the chicken, making it even more flavorful.
Tips for Success
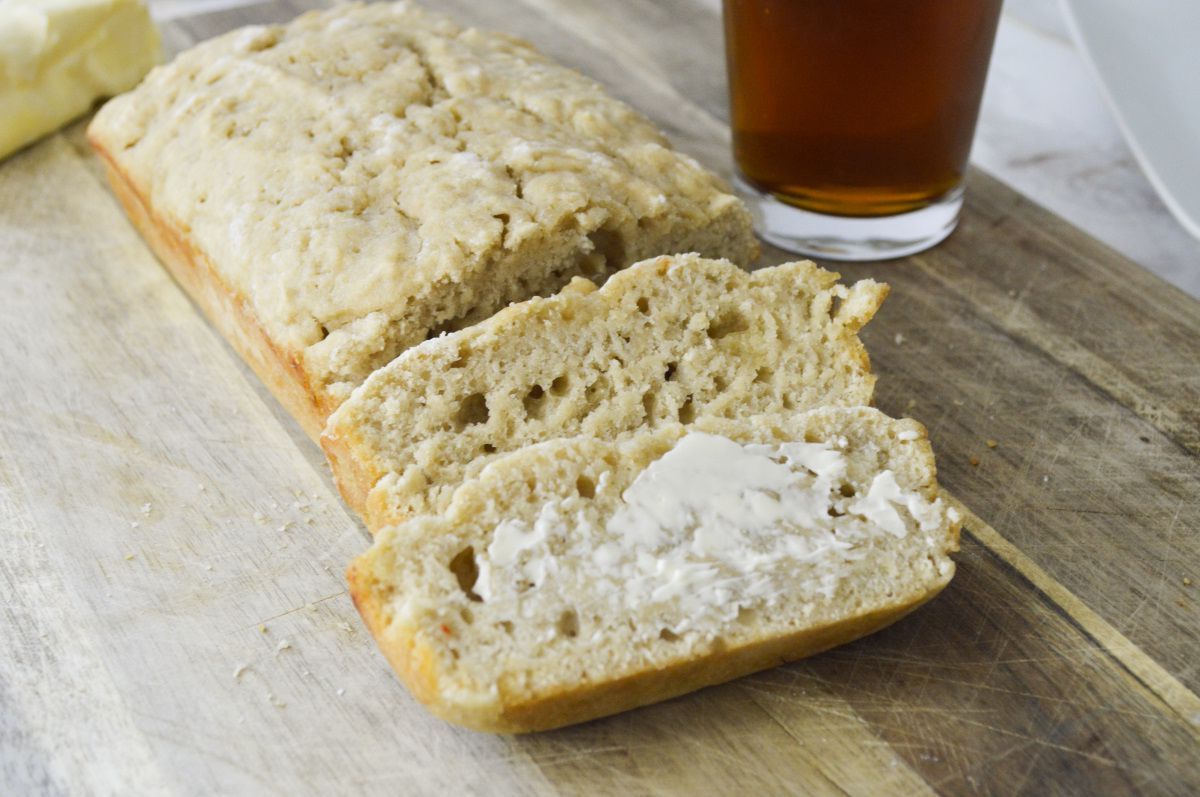
- Choose the Right Beer: The beer you choose can add a subtle flavor to your chicken. I recommend a lager or pale ale, but feel free to experiment with your favorite brews.
- Don’t Rush It: BBQ is a slow cooking method. Don’t rush the process. Let the chicken cook slowly to absorb all the smoky flavor from the grill.
- Invest in a Meat Thermometer: This is the best way to ensure your chicken is cooked to perfection. It takes the guesswork out of grilling.
Embracing this method for your next BBQ will not only provide a succulent and flavorful meal but also showcase your grilling skills. Beer can chicken combines the simple pleasure of beer with the universal love for well-cooked poultry, making it a must-try for any grill master looking to up their game. Happy grilling!