Home>Recipe>Pineapple Cream Cheese Upside-Down Cake Recipe for Instant Pot Lovers

Recipe
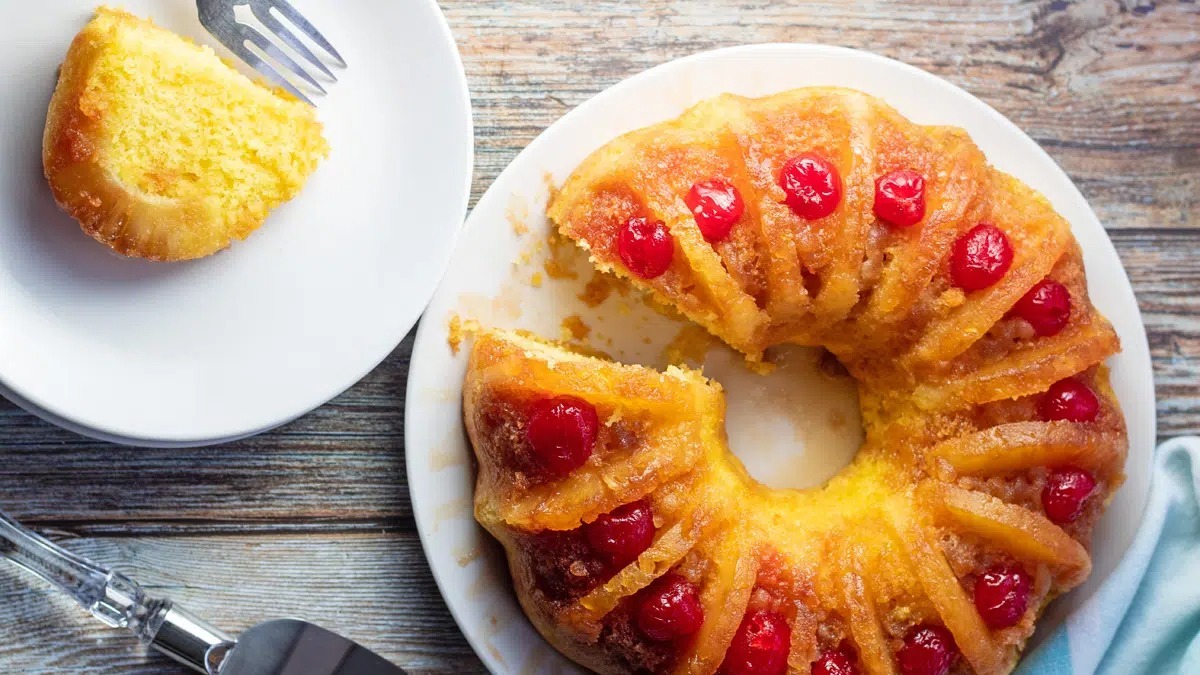
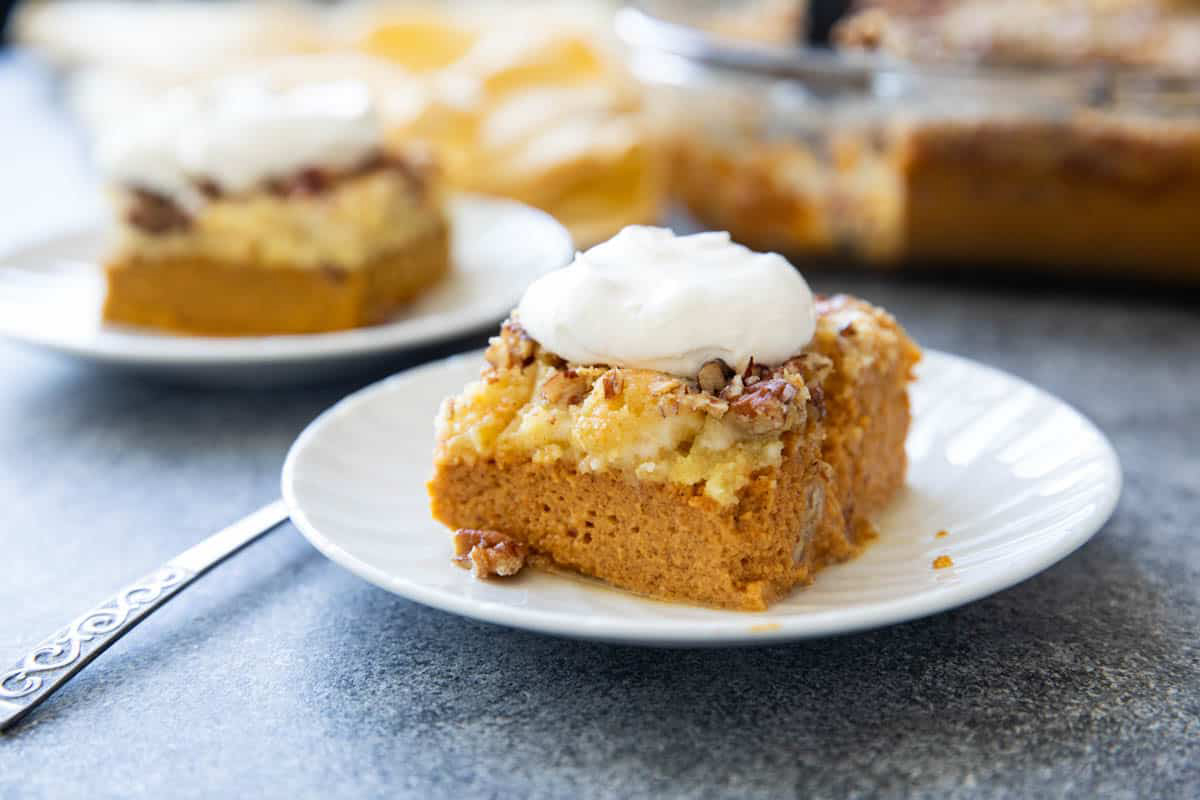
Pineapple Cream Cheese Upside-Down Cake Recipe for Instant Pot Lovers
Published: April 1, 2024
This pineapple cream cheese upside-down cake is a tropical delight! I whip it up in my instant pot, and it's a hit every time. Sweet, tangy, and oh-so-creamy!
(Many of the links in this article redirect to a specific reviewed product. Your purchase of these products through affiliate links helps to generate commission for HomePressureCooking.com, at no extra cost. Learn more)
Just picture this, folks: warm, buttery pineapple slices mingling with rich cream cheese atop a tender, moist cake, right in your kitchen! Trust me, this homemade Instant Pot Pineapple Cream Cheese Upside-Down Cake is a dessert revelation! Every spoonful is a sweet escape, a tropical vacation for your taste buds. Give it a go; your sweet tooth will thank you.
Ingredients for Pineapple Cream Cheese Upside-Down Cake
- Pineapple slices: Sweet and tangy fruit that caramelizes beautifully, adding a tropical flavor and moisture to the cake.
- Unsalted butter: Provides richness and flavor to the cake while helping to caramelize the pineapple and sugar for a gooey topping.
- Brown sugar: Melts into a sticky, sweet caramel that pairs perfectly with the pineapple, creating a luscious topping for the cake.
- Cream cheese: Adds a creamy and tangy element to the cake, balancing the sweetness of the pineapple and brown sugar.
- Granulated sugar: Sweetens the cake batter and complements the tanginess of the cream cheese and pineapple for a well-rounded flavor.
- Eggs: Bind the cake together, adding structure and moisture to the batter for a light and fluffy texture.
- Vanilla extract: Enhances the overall flavor profile of the cake, adding a warm and aromatic note to the sweet ingredients.
- All-purpose flour: Forms the base of the cake, providing structure and volume to hold the pineapple and cream cheese layers.
Did you know that adding a touch of almond extract to the cream cheese batter can enhance the flavor profile of this Instant Pot Lovers' Pineapple Cream Cheese Upside-Down Cake recipe, giving it a delightful nutty undertone?
Essential Tools and Equipment
- Instant Pot: Essential for pressure cooking the cake, ensuring it cooks evenly and retains moisture.
- Mixing bowl: Used to combine and mix the cake batter ingredients thoroughly for a smooth texture.
- Electric mixer: Helps in beating the cream cheese and sugar together until smooth and creamy for the cake.
Common Questions About This Instant Pot Lovers' Recipe
Serves: 8 people
Preparation time: 15 minutes
Cooking time: 35 minutes
Total time: 50 minutes
Ingredients:
- 1 can (20 oz) pineapple slices
- 1/4 cup unsalted butter
- 1/2 cup brown sugar
- 1 package (8 oz) cream cheese, softened
- 1/2 cup granulated sugar
- 2 eggs
- 1 teaspoon vanilla extract
- 1 cup all-purpose flour
- 1 teaspoon baking powder
- 1/4 teaspoon salt
Instructions:
- Melt butter in the Instant Pot on sauté mode. Add brown sugar and stir until melted.
- Place pineapple slices in a single layer over the brown sugar mixture.
- In a mixing bowl, beat cream cheese and granulated sugar until smooth. Add eggs one at a time, then mix in vanilla extract.
- In another bowl, whisk together flour, baking powder, and salt. Gradually add this mixture to the cream cheese mixture, stirring until just combined.
- Pour the batter over the pineapple slices in the Instant Pot.
- Close the lid, set to sealing, and cook on high pressure for 35 minutes. Quick release the pressure.
- Carefully invert the cake onto a serving plate. Serve warm.
Nutritional value:
Per Serving in Calories: 320 kcal | Carbohydrates: 40 g | Protein: 5 g | Total Fat: 16 g | Saturated Fat: 9 g | Trans Fat: 0 g | Monounsaturated Fat: 4 g | Polyunsaturated Fat: 1 g | Cholesterol: 85 mg | Sodium: 240 mg | Dietary Fiber: 1 g | Sugar: 28 g | Calcium: 60 mg | Potassium: 140 mg | Iron: 1 mg | Vitamin A: 300 µg | Vitamin C: 8 mg
Tips for Making Ahead and Storing
Make Ahead Instructions
- Prepare the cake as directed and let it cool completely.
- Once cooled, cover the cake with plastic wrap and store in the refrigerator for up to 2 days.
- When ready to serve, reheat in the microwave or oven.
Freezing Instructions
- Allow the cake to cool completely after cooking.
- Wrap the cake tightly in plastic wrap and aluminum foil.
- Label the package with the date and store in the freezer for up to 3 months.
- To serve, thaw the cake in the refrigerator overnight and reheat before serving.